Additive Edge
3D printing Services and Design
Tuesday, December 18, 2012
Pen plotter
Today I got my 3D printer to work as a 2D printer! Well not really a printer, but a pen plotter. I printed out a pen holder that attached to my printing head from Thingiverse, which can be found here: http://www.thingiverse.com/thing:29228 . I then used a python script called cad.py in order to turn an image into GCODE that my printer could understand. More info on the script and how to get it to work can be found here: http://capolight.wordpress.com/2012/04/30/converting_images_to_gcode/
The next step is to attach swivel knife in order to use my printer as a die-cutter!
Here are the results of my experiment:
Tuesday, December 4, 2012
New Business Cards!
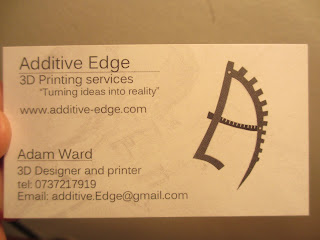
Today i received 2 boxes with business cards for my company that i designed myself they turned out really nice! We are also going to put a small printed logo on the card so people can have a sample of our prints.
Topographical overlay painted!
Just finished painting the topographical overlay I have been working on. It was painted to match satellite images.
Monday, December 3, 2012
Miniature
Here is a miniature I printed out and painted for fun. It was quite tough to paint as it was about an inch tall.
Sunday, December 2, 2012
Blending real objects with 3D prints
This is a really cool idea and I would really like to try something like this!
A sandstone block built from lego, blending real objects with 3d prints from Greg Petchkovsky on Vimeo.
I have also been working on painting the topographical layout that i posted earlier and it looks amazing! I will post pictures soon!
A sandstone block built from lego, blending real objects with 3d prints from Greg Petchkovsky on Vimeo.
I have also been working on painting the topographical layout that i posted earlier and it looks amazing! I will post pictures soon!
Thursday, November 29, 2012
Topographical overlay
My most recent project Is based off of LIDAR scans of the topography in California's Napa Valley. The LIDAR files had to be converted into gray scale to be used as a displacement map on a high density mesh. Using a mixture of LIDAR height data and satellite images i was able to model the buildings. I'm quite happy the way it turned out!
I printed it out in two sizes one small and one large at .05mm layer height. The larger had a few under-extruded layers but that just means a little bit extra touching up by hand. I use a mixture of sandpaper, files and occasionally a heated hobby blade to make my models look nicer. The next step is to paint them and add the trees in the right place by looking at the satellite images.
Hope you enjoy the pictures! More will come when i paint them!
Stay updated on my work at my twitter account https://twitter.com/additiveedge
Left view model
Right view model
Small Version
Large version
Wednesday, November 28, 2012
New Twitter account!
You can follow what we are doing at Additive Edge at: https://twitter.com/additiveedge
Subscribe to:
Posts (Atom)


